How to Run DevOps CI/CD Pipelines for Paginated Reports That Use a VNet Gateway
/This is a short guide on what you need to know to run DevOps pipelines on Power BI paginated reports that use a VNet gateway. This is written as of Aug 2022 while the VNet gateway feature is still in public preview. Hopefully, as this offering matures, we will see more options to make this work.
What Does Our Pipeline Do?
This guide does not include how to configure your pipeline, this guide is aimed at users trying to run their existing CI/CD pipelines for paginated Power BI reports that use a VNet gateway. The pipeline we are running does the following--deploys the target report to a development workspace, next it modifies the data source target and moves a copy in to a QA workspace. Eventually it will be moved to production.
What you need to know.
As of writing this, you cannot use an Azure Service Principal in your DevOps pipeline configuration, you must use a user principal that has MFA disabled. An Azure Service Principal cannot modify the embedded data source configuration of paginated reports that use a VNet gateway. The issue is that you cannot grant data source access to an Azure Service Principal at this time, only user principals. I imagine Microsoft will need to address this eventually.
Configuration Steps
Create a new user principal in AD to use for your CI/CD pipelines, we will need to permission this account in several places in Power BI.
Once you have the new account, log in to the Power BI service with an admin account and assign the new user principal to the VNet gateway and data sources used in your CI/CD pipeline.
First navigate to the VNet gateway - Options>Manage Gateways>Virtual network data gateways. Find the target gateway and click More actions>Manage users. Add the new user principal you created:

Next we are going to permission the new user principal to the target data sources. On that same page there is a tab for Data sources. We are going to assume you have already created a data source for each of your pipeline environments (dev, qa, prod, etc). We need to add our new user principal to each of these data sources. On the data source navigate to More actions>Manage users. Add the new user principal.

In Azure DevOps make sure the service connection is configured to use the new user principal we created. Go to DevOps and your target project. Click Project setting, under project settings look under the Pipeline group and click the Service connections option. You will see your service connections listed here.

Either modify the existing service connection that is using the Azure Service Principal or else create a new service connection. Either way we need to use the new user principal we created. Click on the target service connection and in the top right corner click Edit.
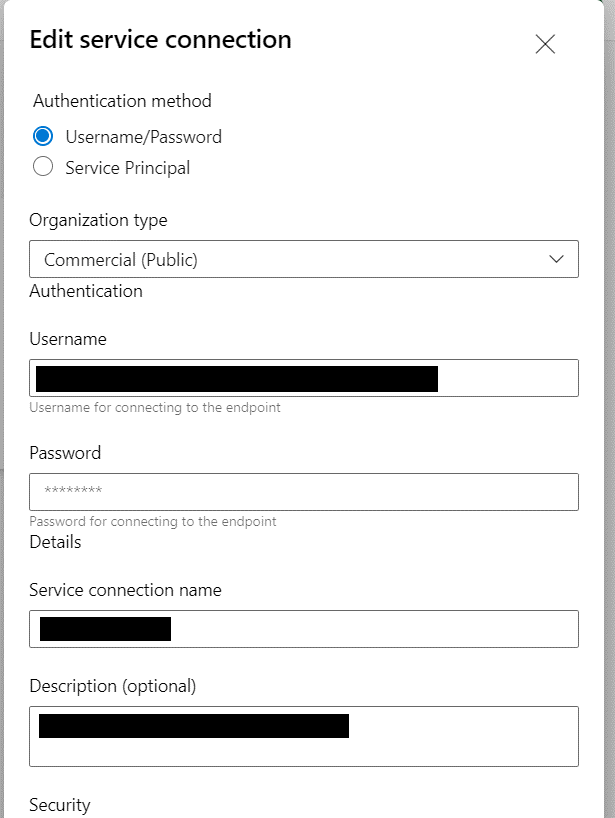
You can see there are two types of authentication methods here, one is the user principal and the other is the service principal. We want to select the username type and then complete the rest of the configuration as seen in the screenshot above.
Save the changes and you should be ready to run your pipeline. Double check all settings if you run in to errors. This has been validated as of Aug 2022.